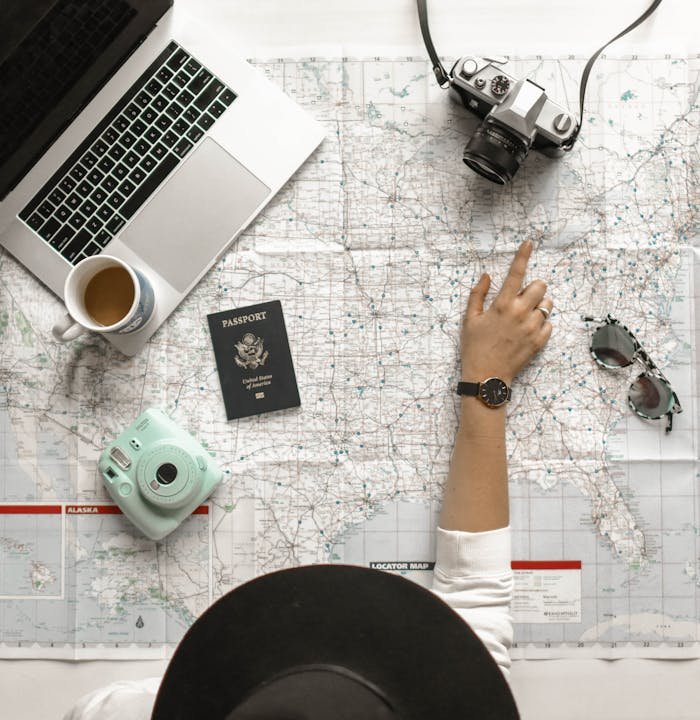
Introduction to Travel Photography
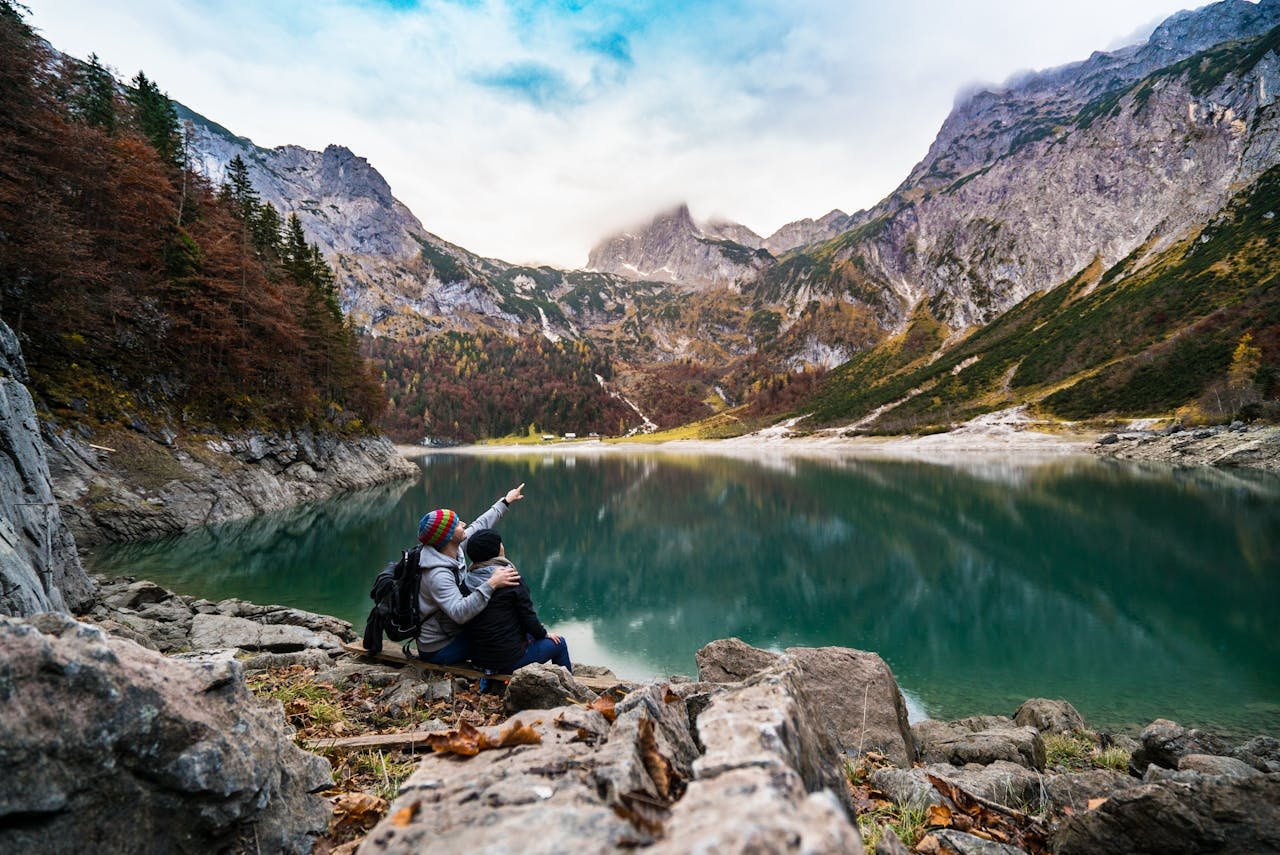
Travel photography is a captivating blend of adventure and artistry, inviting individuals to capture the essence of their journeys through compelling visuals. It presents an opportunity to document diverse cultures, stunning landscapes, and unique experiences, all while enhancing one’s creative eye. The appeal of travel photography lies not only in its ability to preserve memories but also in its power to tell fascinating stories through images.
Contrary to popular belief, creating outstanding travel photos does not necessitate owning expensive, professional gear. Though high-end equipment can offer certain advantages, beginners can achieve remarkable results using entry-level cameras, smartphones, or other basic equipment. The aim is to harness the tools at your disposal effectively, ensuring that the essence of your experiences shines through in your photographs.
This blog aims to demystify travel photography for those just starting on their photographic journey. We’ll delve into practical tips and advice tailored for beginners, focusing on techniques that maximize the potential of entry-level equipment. Whether you’re using a DSLR, a point-and-shoot camera, or even a smartphone, these insights are crafted to help you capture the magic of your travels.
From understanding composition and lighting to employing creative techniques, each section will guide you through the essentials of travel photography. By the end, you’ll possess a toolkit of knowledge enabling you to produce captivating images, irrespective of the gear you carry. So, embark with us on this exploratory journey into the world of travel photography, and discover how to take extraordinary travel photos with the resources at hand.
Understanding Your Camera and Its Settings
Mastering the essentials of your camera is crucial, especially for those new to travel photography. Whether you’re using an entry-level DSLR or a smartphone, understanding the basic settings and functions can significantly enhance the quality of your images. Key elements such as exposure, focus, and white balance play a pivotal role.
Exposure determines how light or dark your image appears; it involves three primary components: aperture, shutter speed, and ISO. The aperture controls the amount of light entering the lens, with lower f/stops letting in more light and creating a shallow depth of field. Shutter speed, on the other hand, dictates how long your camera’s sensor is exposed to light—the faster the shutter speed, the less light hits the sensor, freezing motion effectively. ISO adjusts the sensor’s sensitivity to light; a higher ISO is useful in low-light conditions but can introduce noise or graininess.
Focus is equally important in ensuring your subject is sharp and clear. Modern cameras and smartphones offer autofocus modes, which are usually quite reliable. However, for more creative control, manual focus can be useful in complex scenes or low-light situations. Always ensure that the key elements of your composition are in sharp focus, particularly the main subject.
White balance adjusts the color temperature in your images to make them look more natural under different lighting conditions. Most cameras offer presets like daylight, cloudy, tungsten, and fluorescent. Understanding how to tweak these settings can eliminate unrealistic color casts and render more vibrant images.
For beginners, automatic settings can be a lifesaver. Most entry-level cameras and smartphones come with intelligent automatic modes that make quick and accurate adjustments based on shooting conditions. Using these settings effectively can help you focus more on composition and storytelling rather than the technical intricacies. As you grow more comfortable, gradually experimenting with manual settings will offer better control and creative freedom, enhancing your travel photography skills.
Mastering Composition Techniques
Embarking on travel photography, especially for beginners, involves more than merely pointing and shooting. Mastering composition techniques can significantly enhance your travel photos, making them more captivating and professional-looking. One fundamental concept is the Rule of Thirds. This principle involves dividing your frame into nine equal parts using two horizontal and two vertical lines. Positioning key elements along these lines or at their intersections can create more balanced and engaging visuals. When capturing landscapes or cityscapes, aligning the horizon with one of the horizontal lines can produce a more pleasing composition.
Another vital technique is the use of leading lines. These are lines that guide the viewer’s eyes through the photograph, often towards the main subject. Examples include roads, rivers, fences, or even architectural lines. By incorporating leading lines, you can instill a sense of depth and dimension in your photos, especially in travel photography where environments are diverse and dynamic.
Framing is another composition method that travel photography beginners should explore. It involves using elements within the scene to create a “frame” around your subject, drawing attention to it and adding depth. Natural frames like archways, windows, or even tree branches can be used effectively to highlight subjects such as historical sites or local culture without needing professional gear.
Symmetry and patterns can also elevate your travel photos. Symmetrical scenes or repeating patterns can convey harmony and order. Whether capturing the reflection of a building in water or the repetitive layouts of market stalls, using symmetry can create striking visuals.
For those using smartphones, activating the grid feature can be particularly helpful. The grid overlays your screen with the Rule of Thirds lines, assisting in better composition while photographing on the go. By consciously applying these techniques, any travel photography novice can take compelling photos that tell a story, regardless of the equipment used.
Lighting: Capturing the Best Natural Light
Natural lighting plays a crucial role in travel photography, especially for beginners working without professional gear. Understanding how to harness different types of natural light can significantly enhance the quality of your photos. Two key times of day that are particularly advantageous for capturing stunning images are the golden hour and the blue hour.
The golden hour occurs shortly after sunrise and just before sunset. During this time, the sun is low in the sky, producing a soft and warm glow that can add a magical quality to your photos. Shadows are long, and the light is diffused, which minimizes harsh contrasts and can make even an ordinary scene look extraordinary. Similarly, the blue hour, which takes place just before sunrise and after sunset, provides a gentle, cool lighting. This period offers a serene and mystical atmosphere, ideal for capturing tranquil and dreamy shots.
Different lighting conditions can profoundly affect the mood and quality of your photos. For example, harsh midday sunlight can be challenging as it creates strong shadows and intense contrasts. To handle such conditions, seek out shaded areas to soften the light or use natural reflectors like bright sand, light-colored walls, or water surfaces to bounce light onto your subject. Overcast days, on the other hand, provide even lighting, reducing harsh shadows and making it easier to capture well-balanced images.
Low-light scenarios, such as during dusk or in dimly lit interiors, can be tackled by adjusting your camera settings. Increase the ISO sensitivity to allow more light into the sensor, use a slower shutter speed to capture more light over time, or open the aperture to its widest setting to let in as much light as possible. While these adjustments can help, it is also essential to have a steady hand or use a tripod to avoid blurry images.
By understanding and leveraging natural light, you can capture remarkable travel photos that authentically represent your experiences, even without expensive professional equipment.
Getting Creative with Angles and Perspectives
One of the fundamental photography tips for beginners is to experiment with different angles and perspectives. By exploring these creative techniques, you enhance the distinctiveness of your travel photography, making your images stand out even without professional gear. Changing the angle from which you shoot can drastically alter the viewer’s perception of the subject, offering new and engaging visual narratives.
Shooting from a low angle, often referred to as a ‘worm’s-eye view,’ can make the subject appear more grand and imposing. This perspective is particularly effective when photographing buildings, statues, or other tall structures, as it emphasizes their height and stature. On the other hand, a high angle, or ‘bird’s-eye view,’ can provide a comprehensive overview of a scene. This type of shot is useful for capturing bustling markets, crowded streets, and expansive landscapes. It offers a unique vantage point that can reveal patterns and details that are otherwise easy to miss.
Another technique to consider is incorporating reflections in your photos. Reflections in water bodies, mirrors, or even glass windows can add an element of symmetry and depth to your images. It creates an intriguing visual effect, as viewers are often drawn to the mirrored elements within the photograph. This method can be particularly enchanting during sunrise or sunset, when the light is soft, and colors are vivid.
Moreover, don’t be afraid to tilt your camera or frame your subject off-center. This technique, known as the rule of thirds, involves aligning your subject along one of the imaginary lines that divide your viewfinder into nine equal parts. This approach can create a balanced yet dynamic composition, drawing viewers’ eyes naturally to the focal points of your image.
By daring to get creative with angles and perspectives, you can transform ordinary scenes into extraordinary travel photographs. Remember, the goal is to capture images that not only document your travels but also tell a compelling story, engaging viewers by showing familiar subjects in unexpected ways.
Practical Tips for Capturing Specific Subjects
Travel photography can be immensely rewarding, especially when done correctly. For beginners, understanding how to capture various typical travel subjects can elevate the experience and ensure memorable photos. Here are practical tips to enhance your photography skills, even without professional gear:
Landscapes
When photographing landscapes, maximizing the potential of your smartphone or basic camera’s panorama feature can yield stunning wide-angle results. Utilize natural light to your advantage, particularly during the golden hours—just after sunrise and before sunset—when the lighting is soft and shadows are long. Remember to include points of interest in your frame, such as a unique tree or a winding path, to anchor the viewer’s eye.
Architecture
Architectural photography gains depth and interest with the use of natural frames. Elements like arches, doorways, or even tree branches can create a compelling border around your subject. Simplify your compositions by focusing on symmetry, lines, and patterns inherent in architectural designs. Always take a moment to experiment with different angles and perspectives, aiming for both close-up details and wide shots that capture the building’s grandeur.
People
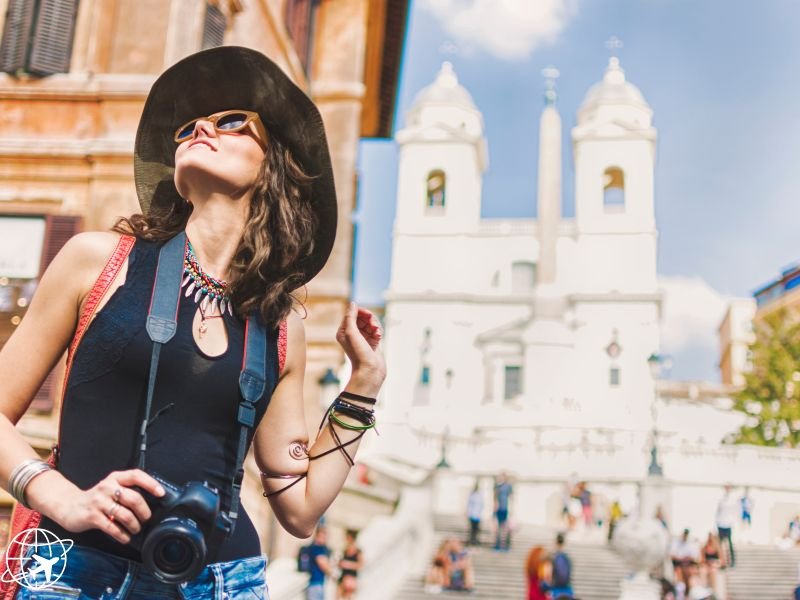
Photographing people while traveling adds a human element to your travel narrative. To capture authentic expressions, interact with your subjects first—this ensures comfort and naturalness. Use the portrait mode available in most smartphones to achieve a professional-looking, blurred background effect. Candid shots are equally impactful; try to capture people engaging in everyday activities that reflect the culture and vibe of the locale.
Food
Food photography can be as appetizing in visuals as it is in reality. Lighting is key: take advantage of natural light by positioning yourself near windows or dining alfresco. Avoid harsh overhead lighting that can cast unflattering shadows. Use your smartphone’s macro feature to focus on intricate details of the dish, such as textures and garnishes. Additionally, play around with different angles—top-down and 45-degree shots often result in mouth-watering compositions.
By applying these travel photography tips specifically tailored for landscapes, architecture, people, and food, beginners can enhance their visual stories without the need for professional gear. Each subject offers unique possibilities to explore, ensuring a diversified and captivating travel photography collection.
Post-Processing Tips Using Free and Accessible Tools
Post-processing is an essential step in travel photography, especially for beginners aiming to elevate their photos without professional gear. With free and user-friendly tools, even novice photographers can significantly enhance their images. One such tool is Snapseed, available for both iOS and Android. Its intuitive interface allows for various adjustments including exposure, color correction, and cropping.
Exposure correction is one of the fundamental enhancements you can make. Often, travel photography entails capturing moments in less-than-ideal lighting conditions. Adjusting the exposure helps in brightening underexposed photos or toning down overly bright images, ensuring the subject is well-lit and the details are visible.
Color enhancement is another vital aspect. Travel photography often brings out a multitude of colors, and amplifying these can make your photos stand out. Simple tools like Lightroom Mobile offer presets and sliders to adjust the vibrancy and saturation of colors. This can turn a dull-looking photo into a vivid piece that reflects the true essence of your travel experience.
Cropping helps in refining composition, removing unnecessary elements from the frame, and focusing the viewer’s attention on the main subject. Many built-in editing apps on smartphones offer this feature. Proper cropping can transform a cluttered image into a balanced and visually appealing photo.
For beginners, mastering these basic post-processing techniques can make a significant difference. Free tools like Snapseed and Lightroom Mobile don’t just offer the convenience of editing on-the-go, but also provide a plethora of tutorials and resources to help you learn. Investing time in post-processing will reward you with a portfolio that reflects your unique travel experiences with enhanced clarity and aesthetic appeal.
Sharing Your Travel Photos: Building a Visual Story
As you embark on your journey into travel photography, sharing your captured moments effectively can significantly enhance your storytelling. Creating a visual story is more than just posting random images; it involves selecting your best photos that collectively convey your travel experience. Begin by carefully curating a series of images that together tell a coherent story. Each photo should contribute to the narrative, whether it’s the vibrant cityscapes, serene landscapes, or candid moments with locals.
Selecting the best images from your collection is a crucial step. Aim to cover various aspects of your trip, ensuring a mix of wide shots, close-ups, and different perspectives. This variety can keep your audience engaged, showcasing the essence of your journey. Additionally, paying attention to the quality of the photos is paramount. While professional gear can enhance the outcome, beginners can still capture stunning travel photography with basic equipment by focusing on composition, lighting, and timing.
Captions are an essential component when sharing your travel photography. Thoughtful captions provide context and add depth to your images, allowing viewers to understand the story behind each shot. Instead of merely describing the scene, consider sharing interesting facts, emotions you felt, or experiences related to the image. This personal touch can create a stronger connection with your audience, making your visual story more compelling.
Leverage social media platforms, such as Instagram, Facebook, and Pinterest, to share your travel photography. These platforms not only allow you to reach a broader audience but also provide engaging features like stories, hashtags, and geo-tagging to enhance your posts. Additionally, creating a travel blog can be a more detailed way to document and share your experiences. A blog gives you the freedom to elaborate on your journey, share travel tips, and interact with readers on a more personal level.
Engagement with your audience is crucial in building a community around your travel experiences. Responding to comments, asking for feedback, and participating in travel photography groups can foster a sense of connection and inspire others. By sharing your travel photos with intention and creativity, you not only relive your adventures but also inspire fellow photography beginners to explore and capture the world around them.